.png?height=120&name=new%20solo%20logo%20(1).png)
Set up your booking website by following our step-by-step guide below
In this article:
Your bio, contact & social buttons
Your menu
Designing your website
As a first step, we're going to look at what your website looks like visually.
- To get started click on settings in the bottom right hand corner
- Click on booking website
- Click on website editor. This gives you a full preview of what your website currently looks like. To help you visualise what your Solo website could look like, you'll notice some sections have been automatically filled out with some default options, including treatments, reviews and lookbook images.
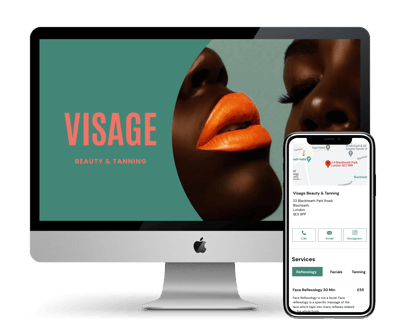
Cover designer
As a first step, you'll need to create your cover image with our in-app cover designer. Choose from our templates of layouts, fonts, colour schemes and filters to build a distinct brand for your business.
- Go to settings >> booking website >> website editor. This will give you a live preview of what your website looks like. Your website has been auto-populated with some default images, treatments and reviews that you can update.
- To update your cover image, click on branding & banner and open cover designer. A default cover image has been created for you just to give you an idea of what your website could look like.
- Now it's time to customise it! To get started, click the photo icon in the bottom right and upload your preferred image.
- Using the icons at the bottom, you can change the layout, font, image filter and colour scheme for your banner image. To update the title & subtitle, simply click on the text on the image.
.png?width=525&height=482&name=Support%20Guide%20Assets%20(2).png)
- Use the buttons at the top to flick between the mobile and desktop preview.
- Once you're happy, click save and see your brand new banner image in action.
Here's a quick preview video to show you how the cover designer works:
.png?width=248&height=441&name=Untitled%20design%20(5).png)
Reviews
- Now it's time to customise your reviews. You'll be able to see that some default reviews have automatically been added. Click edit here to add your own reviews from your business.
- You can decide which reviews are visible on your profile by switching the toggle next to each review on or off.
- You can choose which review you want to be pinned at the top of your website by clicking pin review.
- You can refer to your review settings at any point by clicking settings >> booking website >> reviews.

Lookbook
- Next, it's time to update your lookbook. Again, you'll see that some default images have been pulled in based on the treatments you offer.
- Click edit here and upload image to replace these with your own images of your work.
- You can add a caption for each image to help customers understand which treatment you're showcasing e.g "french manicure" or "deep tissue massage".
- If you wish to delete any images, swipe to the left over the image and press the red bin icon.
- You can re-arrange the position of your images by holding down on the six dots on the right hand side and dragging your image to your desired position.

Your business info, contact & social buttons
- The next step is to update your business info which will be displayed as informative tabs on your website. This is a great opportunity to easily share all the information your customers might want before booking. For instance you can create tabs for:
- About Me
- Cancellation Policy
- How To Book
- Products - Click add section to create a new tab and input your desired title and text. You can reorder your tabs by holding down the icon on the right hand side and dragging them into the desired position. To amend these settings in the future, head to settings >> booking website >> business info.
- Next, you need to confirm your contact details for customers to contact you should they need to. These will be automatically filled in depending on the phone number and email you registered with. If you don't want to share any specific details e.g your phone number, just leave the section blank.
- Lastly, you can add your social handles, which will also appear as buttons on your website next to your contact buttons. We strongly recommend linking any social platforms that you use for your business such as Instagram, Facebook or TikTok.

🔥 Solo Tip: Having an active Facebook, Instagram & TikTok for your business is a great way to showcase your work and get more clients. You can easily market your business on these channels, linking customers directly to your booking website.
Your menu
- Next, you need to decide on what you would like to call your menu. You can choose between treatments or services.
- Click edit name to switch between the two and press save.
Great! Now your website home page design is complete.
Next, we're going to move onto treatments. At the bottom of the screen, press the 'treatments' icon.
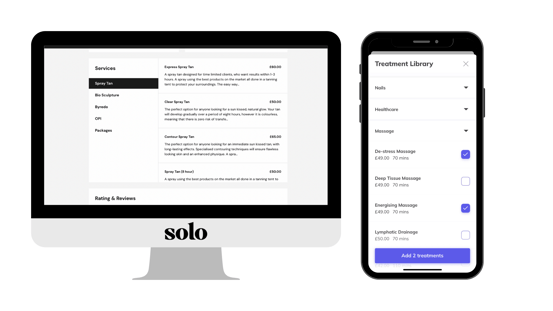
Treatments
You'll have noticed some default treatments were already added to your website. Now it's time to customise your treatment menu specifically for your business. You have full control over treatment names, categories, prices and durations.
- Once you've clicked on treatments at the bottom of the screen on the website editor, press edit treatments.
- Click add treatment. Here you can choose to either add your own, or select one from our treatment library. Don't worry, all of the treatments in our library can be edited so you can still choose the price, duration and description. They're just there to help you along the way!
- Once you've chosen a treatment, press edit to update the details. You can choose which treatments are bookable via your website by switching the toggle on or off.
- You can view your treatments at any time by going into your settings >> treatments.
- To delete a treatment press edit, scroll down to the bottom and press delete treatment.
Next, you need to set your booking location. At the bottom of the screen, press the 'locations' icon.
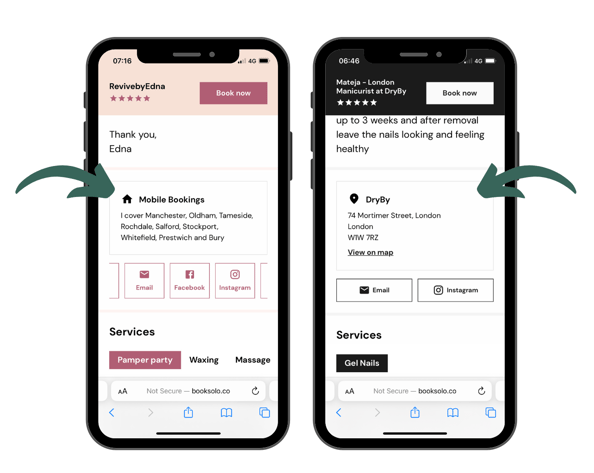
Set your booking locations
With Solo, you can choose the locations that clients can book you. You can give them the option to book you at their home or at your salon or treatment room.

Mobile
If you wish to offer treatments mobile, follow these steps:
- Click on the option that says mobile
- Switch the toggle to on for 'clients can book appointments at their address'

- Select your travel distance in miles and enter your home address, or where you will most likely be travelling to and from.
- You can also set an optional travel surcharge fee for mobile bookings.
- Lastly, you need to set a travel summary to let your clients know what areas you cover. An example summary would be "I cover most areas of South West and West London. If you are unsure if I cover your area, please feel free to get in touch."
- Once you're happy with your settings, press save.
Salon or treatment room
If you wish to operate out of a salon or treatment room, follow these steps:
- Click salon or treatment room.
- Toggle on 'clients can book appointments at my salon or treatment room'.
- Select your address for your salon or treatment room
- If you don't wish to have the full address visible on your website e.g if you have a treatment room at home, you can toggle on 'hide full address on website'. This will give you the option to enter an alternate location description that will be visible.
Perfect, you have now completed all sections of the website editor. Press '✔️ Done' in the left hand corner at the bottom of the screen to save your website.
As a last step for your website, you need to claim your URL.
To claim your website URL:
- Click on settings in the bottom right hand corner of your Solo app
- Click on booking website
- Your website will be given a default URL based on your business name, however you will need to update this to a URL of your choice. To update this, click set website address and amend the copy to a URL of your choice. Your website URL will look like this: booksolo.co/YourChosenURL. Once you have decided on your URL, click claim website address.
- If you wish to amend your URL at any point, go into settings >> booking website >> scroll down to the bottom of the page >> click change website address.
⚠️ Your website will be offline until you press turn on public access. We recommend waiting until your website is fully set up before you go live. You can preview your website at any point.
.png?width=593&height=333&name=Support%20Guide%20Assets%20(1).png)
Choosing your website settings
Next, we're going to look at the settings that control your website & booking system.
Set your availability settings
With Solo, you can set your default availability settings to help you manage incoming requests and maximise your earnings. To get to the availability settings you need to:
- Click on settings
- Click on booking website
- Click on availability settings
Choose what times clients can book you on your booking website
You have two options:
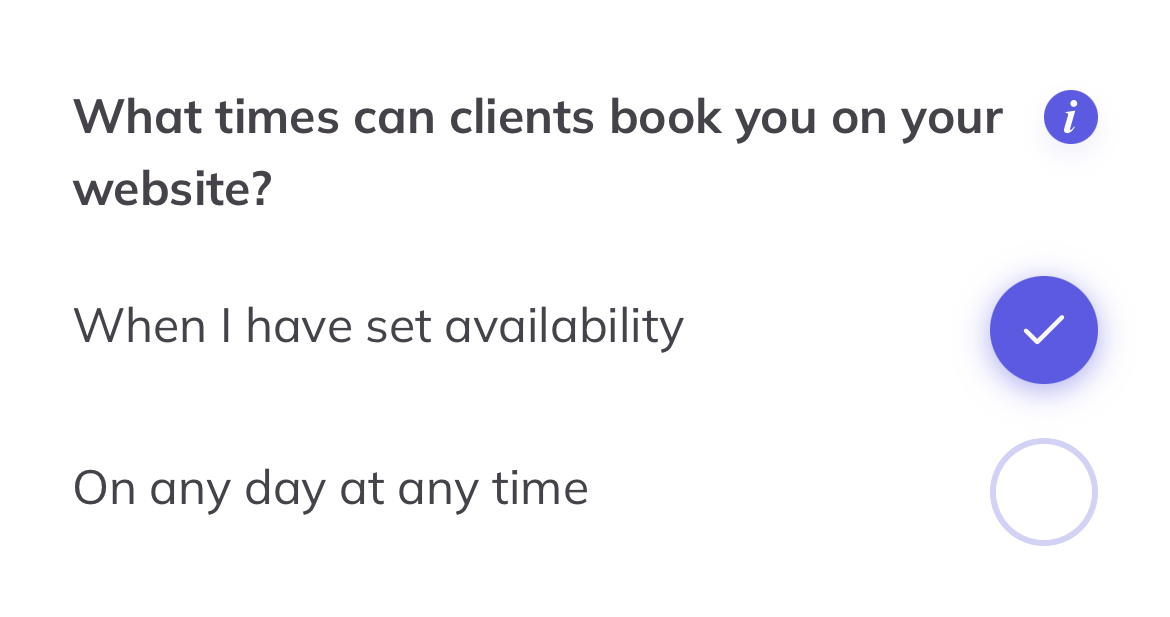
- When I have set availability - this option means that you can share live availability with your clients through your booking website. You can update your availability down to 30 minute slots within your calendar. This will be reflected on your booking website so your clients can see what days and times you are available
- On any day at any time - this option means that you clients can send you a request for any date at any time. You can then confirm or decline the request depending on if you are available
🔥 Solo Tip: We recommend selecting 'when I have set availability' as this is a fantastic way to fill up your diary and avoid back-and-forth correspondence with clients trying to find a time that works for you both. Note, you will need to keep your availability up to date when choosing this option. Learn how to update your availability here.
Set your travel time
To help you manage your diary and maximise your earnings, we have some additional travel time features:

- Default travel time - you can input a duration of time e.g 30 mins that it typically takes you to travel between bookings. Using this feature will help you avoid any diary clashes and allow you at least 30 minutes in between your bookings
- Turn on dynamic travel time - for professionals working in Manchester, Brighton or London, you can make use of our dynamic travel time feature that will automatically work out the time it will take you to drive between two postcodes. In an instance where dynamic travel time isn't available, we will use your default travel time
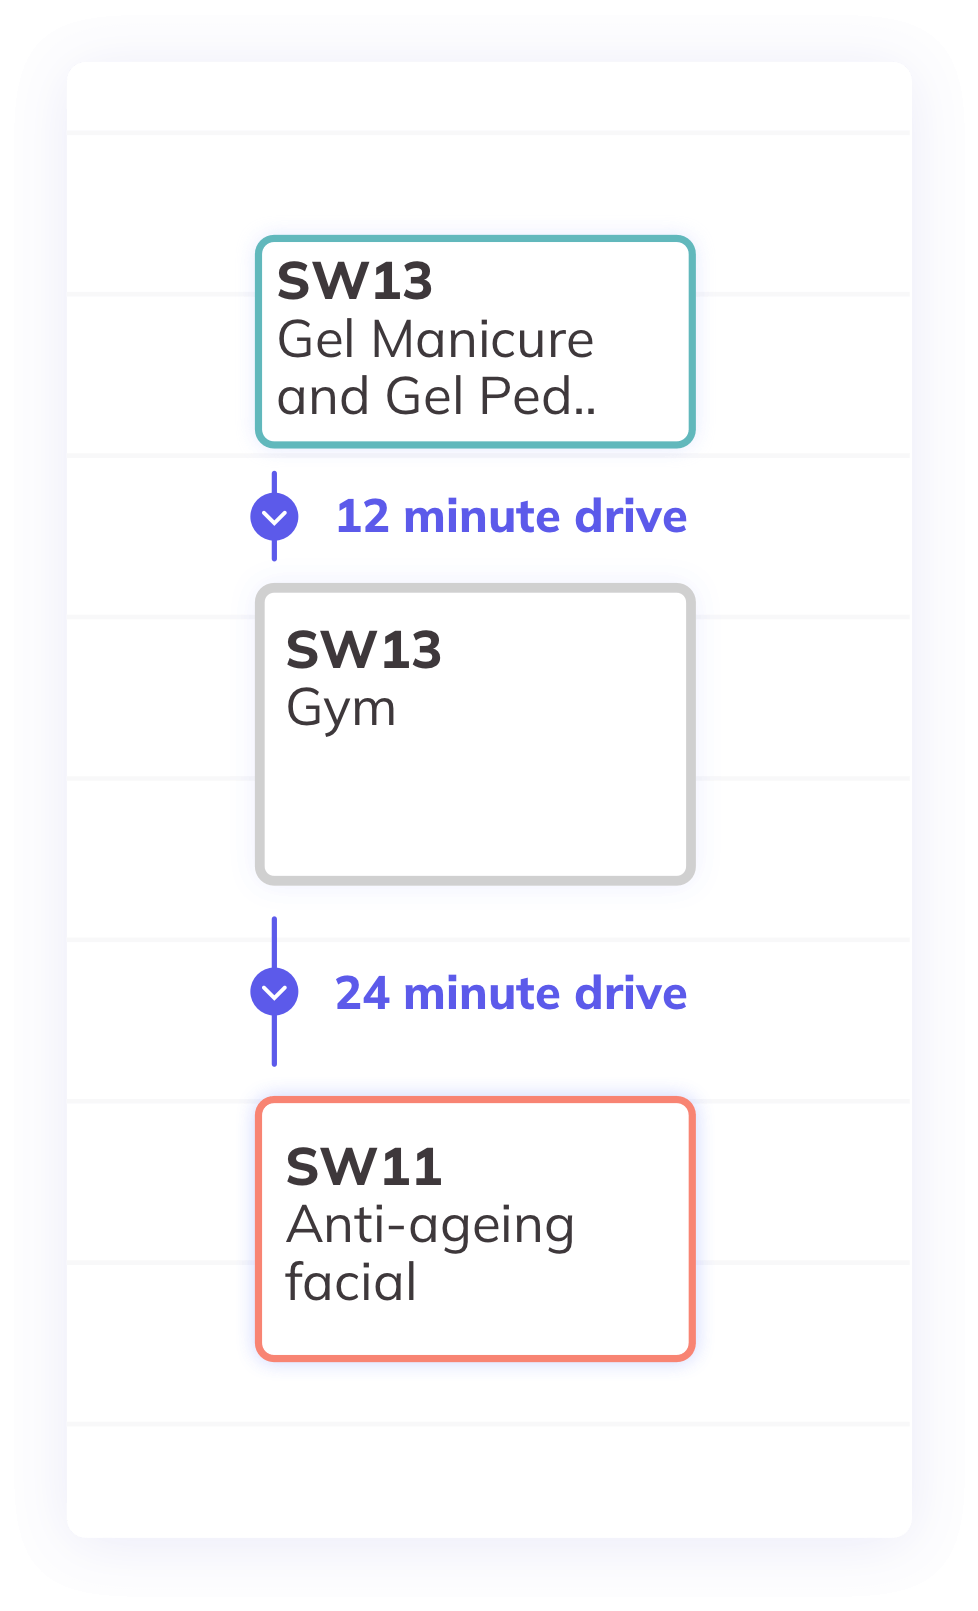
🔥 Solo Tip: The dynamic travel time feature is a fantastic way to manage your diary. Not only does it avoid diary clashes and late arrivals, it also helps you maximise your availability and ultimately help you earn more.
Choose your settings
- You also have the option to add a minimum booking amount which is the lowest fee you're willing to accept bookings for. We recommend taking into account how much you are charging for each treatment when applying this amount.
- Set your minimum hours before booking duration. This is how soon a customer can book an appointment on your booking website. For example "2 hours" before would allow a customer to request a booking at 12pm for 2pm that same day.
- Set your default packdown time. This is the amount of time you want to apply to the end of your booking. This time is in addition to the treatment duration and in addition to the time calculated to travel between the locations of your bookings. We recommend setting a packdown time to help you manage your time between bookings
Great, you're all set! Now most importantly, it's time to share your new website with your existing and new clients.
Add your website URL to your Instagram bio
- Head to your Instagram profile
- Click on edit profile
- Click on links
- Click add external link
.png)
- Add the link to your booking website. Remember your URL will be booksolo.co/yourchosenURL

If you need reminding of your booking website URL, you can find it in your Solo app under settings >> booking website.
Send a message to customers who current book via direct message:
You'll also want to direct your existing customers to your brand new website. This will include customers who book with you via WhatsApp/Instagram/Facebook
Use the example template below to send a message to your customers:
Hi {customer name},
How are you?
I just wanted to let you know that I will no longer be taking bookings through WhatsApp. From now on, you can check my live availability and make a booking from my website at booksolo.co/URL.
Look forward to seeing you soon!
{customer name}